Compatibility Requirements
Personal Computers
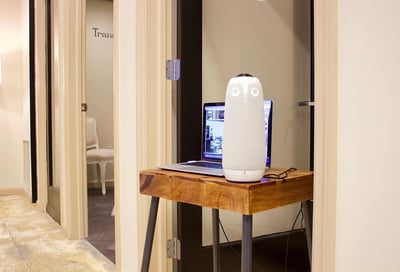
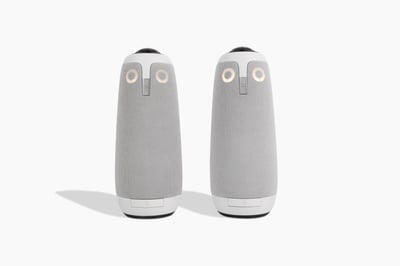
The Meeting Owl - and all Owl Labs’ products - works with most computer operating systems that are able to run web-based video conferencing software. You can use your personal computer to display remote students on your video conferencing software, or you can connect it to a TV or monitor via HDMI to display them on a larger screen so they’re more visible for in-classroom students.
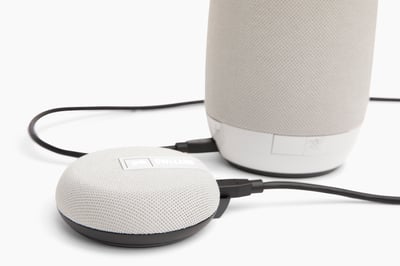
The Owl is USB UVC 1.1, UAC 1 compatible, and works with USB 2.0 and 3.0 ports. The Owl has been tested to work with USB-C ports using these approved cables and adapters.
The Meeting Owl is compatible with the following operating systems:
- Windows 7 or higher
- OSX 10.8 or higher
- Chrome OS
- Limited Support on Ubuntu 16.04 or higher (some video applications will work, others may not); may work on other Linux-based systems
Mac Minis, Chromeboxes, and other small computers
If you’re using a small computer, such as a Mac Mini or Chromebox, as your in-room computer to run video conferencing software, the Meeting Owl works similarly to the way it connects to a typical personal computer. It connects to the Mac Mini or Chromebox via USB, and the Mac Mini or Chrombox connects to a larger monitor or TV screen to display remote students via HDMI.
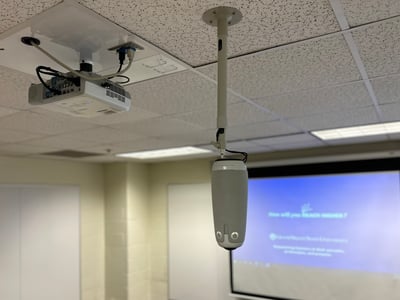
Projectors
If you prefer to use a projector to transmit what’s on your computer onto the whiteboard to make it easier for in-classroom students to see your remote students, you can connect the Meeting Owl to your computer via USB connection as normal, and connect your computer to the projector via VGA connection. When you do this, make sure you’ve selected the Meeting Owl as your video conferencing software’s audio source, as some projectors can transmit audio and may be listed as an option.
Best practices for using the Meeting Owl
Every classroom environment is unique. Over the years, we’ve collected some techniques to help you optimize the Meeting Owl to your specific classroom environment.
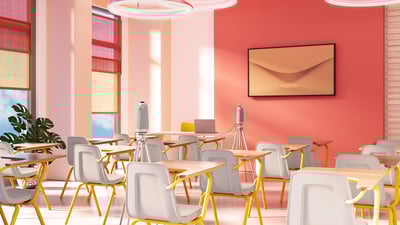
Ideal Environment for the Meeting Owl
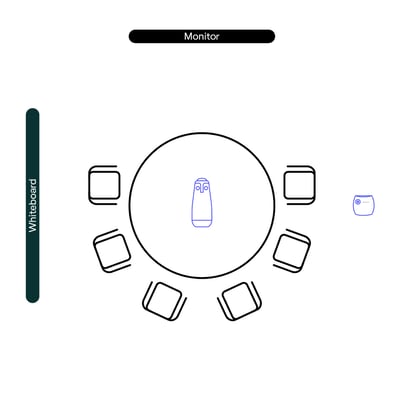
When setting up your Meeting Owl in your classroom, be sure that:
- The Meeting Owl is installed on a level surface at the front of center of the classroom
- Students are seated within 18 ft (5.5m) of the Meeting Owl
- Teachers and students face the Owl when they speak and raise hands so the Owl knows who to focus on
- There is minimal side chatter or movement during classroom presentations or discussions
Speaking + moving during class
We know that asking students, particularly younger ones, not to speak or move out of turn during class is a challenge. The Meeting Owl decides who to auto-focus on based on sound and movement, so it will shift focus onto students who are moving around and talking or making other noise during your discussions.
Here are a few suggestions for minimizing distractions while still being mindful of your students’ shorter attention spans:
- Schedule regular breaks throughout the school day so students have time and space to get their energy out without disrupting the flow of classroom discussions.
- Use the Camera Lock feature where it makes sense to hide in-classroom distractions from the view of your remote students. This feature will force the Meeting Owl to focus on you or another presenter in the classroom and ignore other movements or speaking in the room.
- Periodically hold less structured discussions using the Meeting Owl, such as Show and Tell or talking about fun topics or personal stories, so younger students can engage and have fun with the Owl outside of your lessons and discussions.
Speaker Tracking
When you first start using your Meeting Owl during classes, you may notice an initial 3-5 second lag before the Owl begins auto-focusing on a new speaker. The Meeting Owl isn't strictly a motion-tracking camera — it relies on movement and sound in your classroom to intelligently decide where to auto-focus to support collaborative discussion between multiple active speakers.
To help the Meeting Owl auto-focus on you more easily when teaching, stay in the same general area of your classroom while you're lecturing. If you're someone who likes to walk and talk at the same time, make sure you're speaking consistently and not taking too long of pauses so the Owl can see and hear where you are in the room. If you need to take a pause, that's okay too, but the Meeting Owl will need another 3-5 seconds to catch up to you when you start speaking again.
.png?width=400&height=225&name=owllabs_edu02b_D1A_ik_231220%20(2).png)
In-Room Noise Reduction
Many schools have powerful ventilation, heating, and cooling systems that can produce a lot of ambient noise for the Meeting Owl to process during classes, so we have a feature to turn on stronger Noise Reduction within the Meeting Owl app.
To turn on Noise Reduction:
- Select your Owl from the Nearby list.
- Select the settings icon (
 ) in the top right corner.
- From the list, select Default Settings.
- From the Default Settings page, under Admin - Default Camera Settings, select Advanced Audio Settings.
- Under Double Talk, set the value to Aggressive.
Remote Student Engagement
A key aspect of hybrid or remote instruction is remote student engagement. It’s easier to keep in-classroom students focused since they’ll be present with you, but your remote students will be learning and participating from home, where they don’t get the benefit of interacting with their peers and may be distracted by what’s going on in their homes.
It’s critical that remote students get an equalized learning experience during virtual or hybrid instruction, so below are a few of our suggestions for using the Meeting Owl to facilitate their participation:
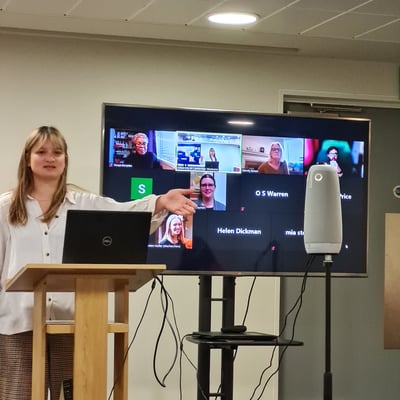
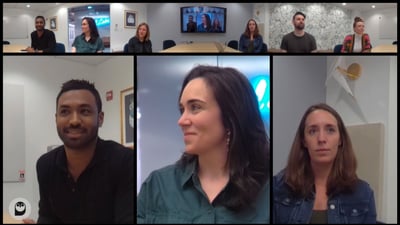
- Alternate between calling on in-classroom and remote students for participation. Use your video conferencing software to show all of your remote students’ faces using the “Gallery View” or “Grid View” on your classroom monitor so you can easily call on them and alternate to make sure all of your students are engaged.
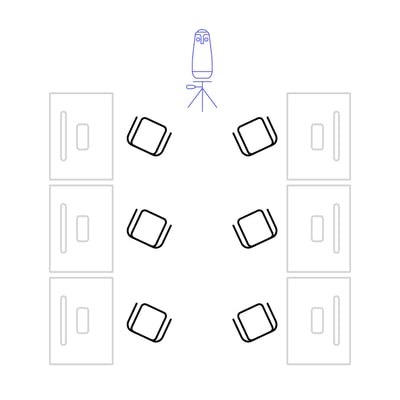
- Move the Meeting Owl into the center of a desk cluster or circle so remote students can join small group discussions.
- Call on remote students to read out of textbooks, answer homework or quiz questions, or lead presentations so there’s a balance of in-classroom and remote speakers.
Screensharing
If you want to share a presentation on your monitor or TV in your classroom from your computer, be mindful that this may hide the view of your remote meeting participants and make it more difficult for remote students to ask questions or participate.
If you anticipate needing to screenshare presentations or other materials frequently in your classroom, you may want to consider setting up dual monitors or TV screens so you and your in-classroom students can see shared content and remote students at the same time. Different video conferencing software have different instructions for setting up dual monitors, so you’ll want to consult their resources for setting this up.
Whiteboarding
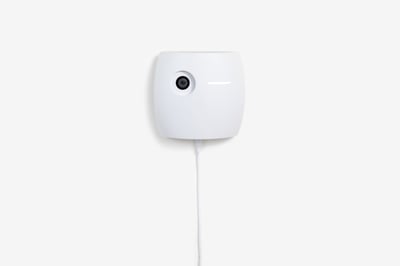
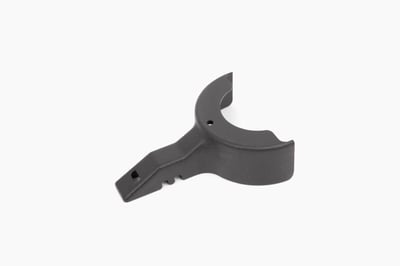
For classes where you need remote students to be able to focus on what you’re writing, you can pair your Meeting Owl with a Whiteboard Owl.
For times when you prefer to use the physical whiteboard in the classroom, pair your Meeting Owl with your Whiteboard Owl and then simply flip one of the whiteboard tags to switch the primary camera to the Whiteboard Owl.
.png?width=400&height=225&name=owllabs_edu02b_D1AW_ik_231220%20(1).png)


.jpg?width=400&height=267&name=usb_c-usb_c-6ft%20(1).jpg)
.jpg?width=400&height=267&name=c5-Owl%20Labs%20Marketing_r1_DEN_1220%20(2).jpg)